Out Of This World Tips About How To Clean A Bottom Bracket

How To Repair, Clean & Replace A Mtb Bottom Bracket. - Youtube

From The Workbench: At-home Bottom Bracket Maintenance - Mountain Bikes Feature Stories Vital Mtb
Upgrading Bottom Bracket, What's The Best Method For Cleaning And Re Lubing Inside Here? Aka Soapy Water Or Do I Need A Degreaser? : R/bikewrench
Clean Dirty Bottom Bracket - First Components
Bottom Bracket Overhaul (bicycle Maintenance) : 15 Steps - Instructables

How Should I Clean This Rusty Steel Bottom Bracket Before Install My Bbshd? : R/ebikes
This breaks the chip created by the cutting teeth.
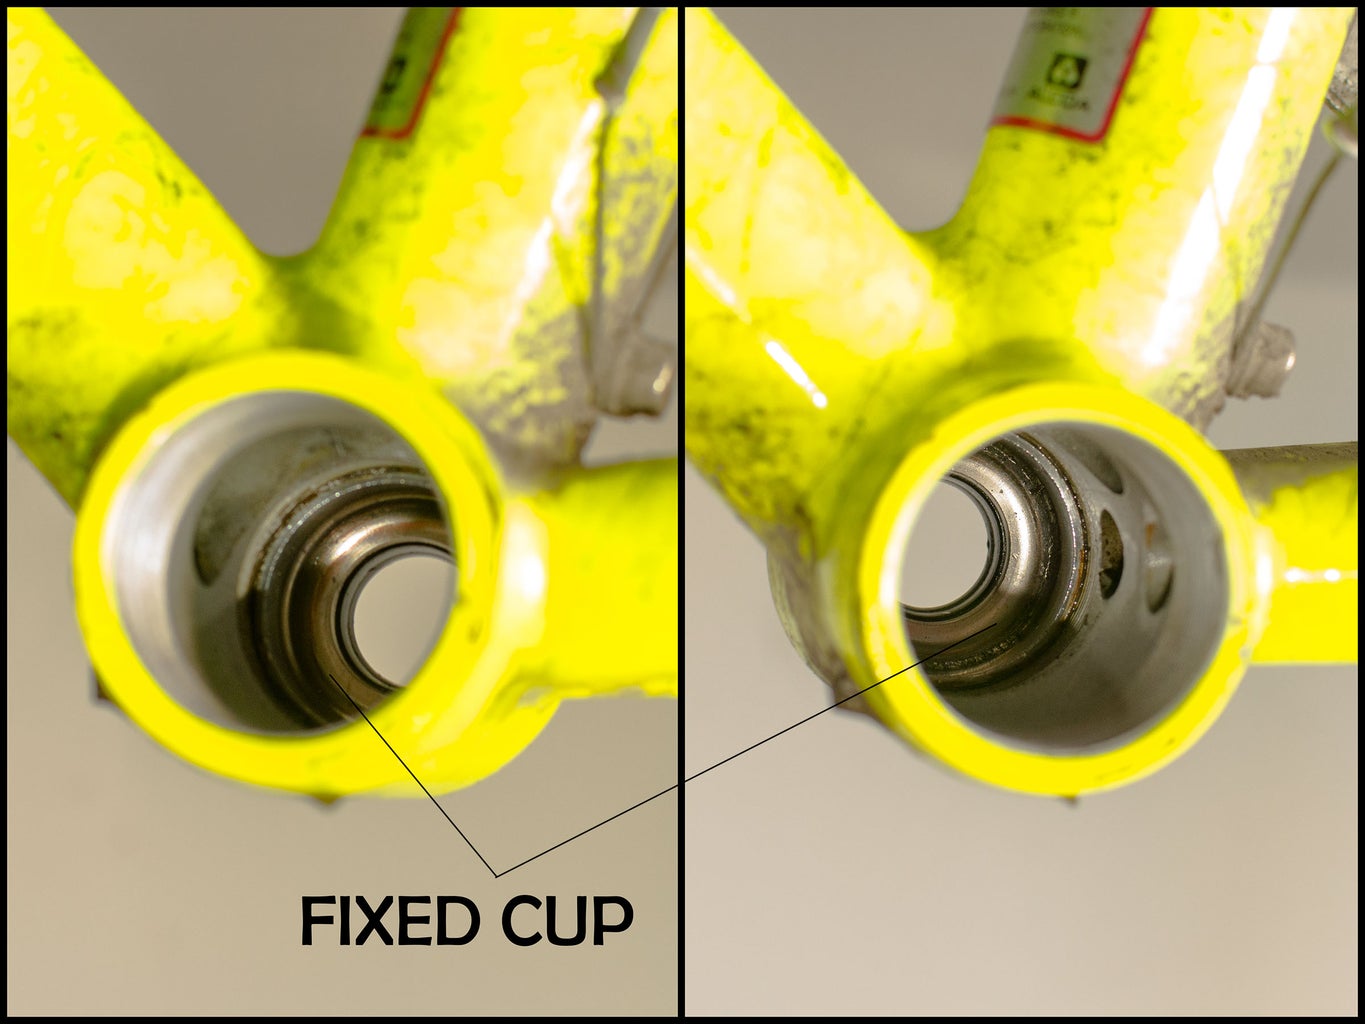
How to clean a bottom bracket. See bottom bracket tool selection: Turn tap in slowly —turn, then back slightly, then advance again. Inspect the threaded cups for tool fittings.
Clean the threads on your bottom bracket as well as any other grease on the bearings or inside the cups. Do the same to the bottom bracket centerpiece. This includes removing the cranks, disassembly, cleaning, replacing the bearings, lubr.
Remove the crankset from the bottom bracket. #9 · jan 19, 2015. It’s easy to lose, so remember where you’ve put it finally, flip the safety clip out from the split and the left crank.
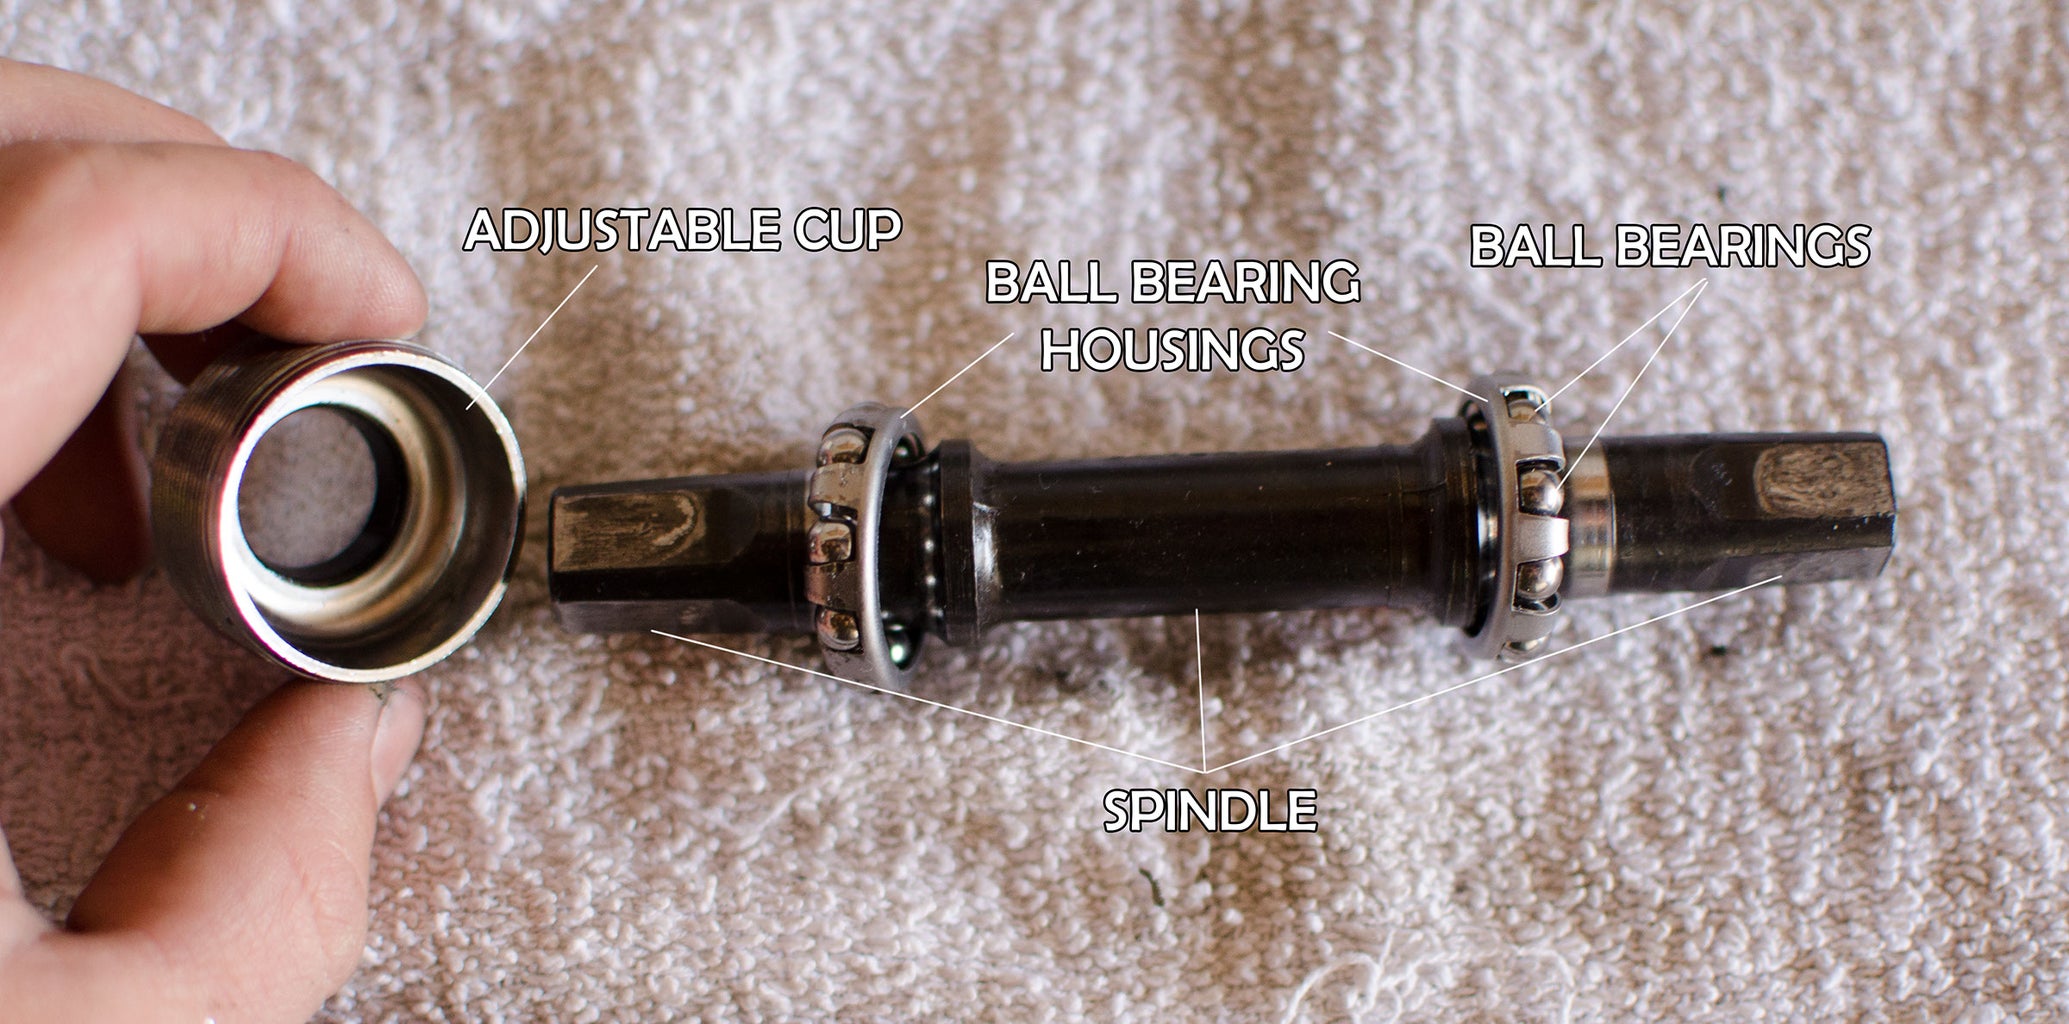
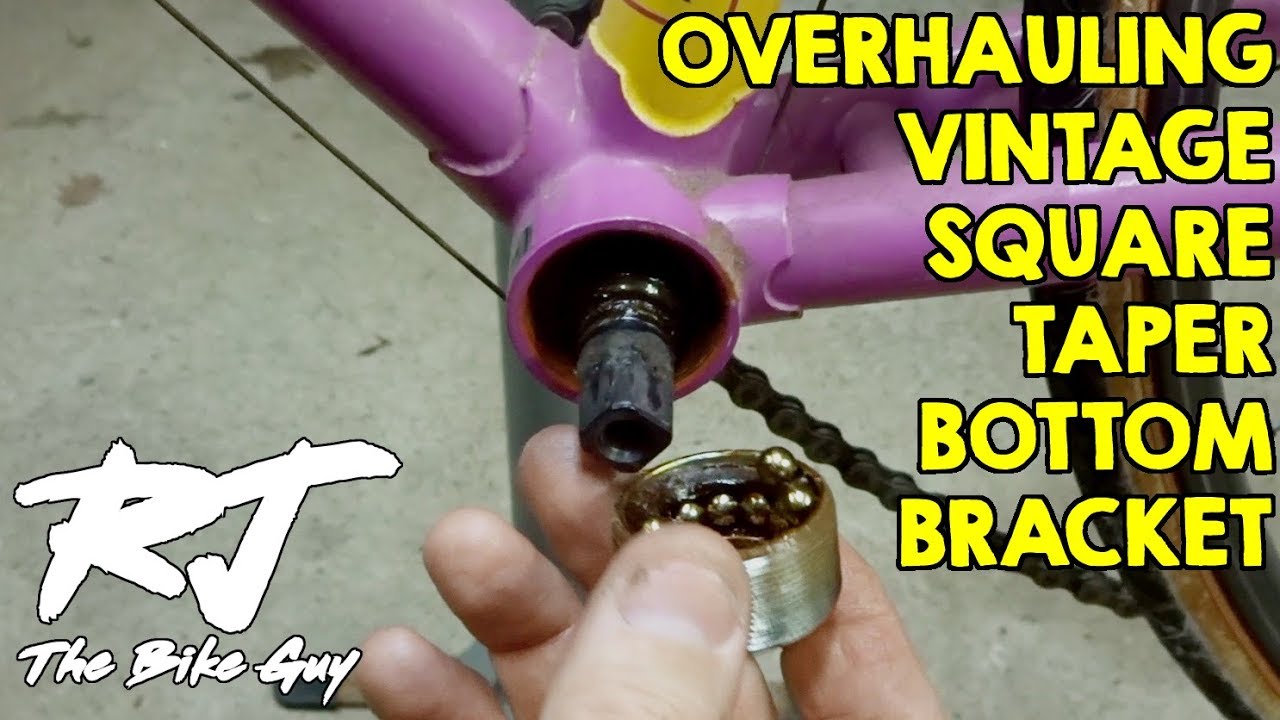
Doddy shows you how to maint. I show how to overhaul a vintage cup/cone square taper bottom bracket. Help ohp reach 1,000 subscribers:
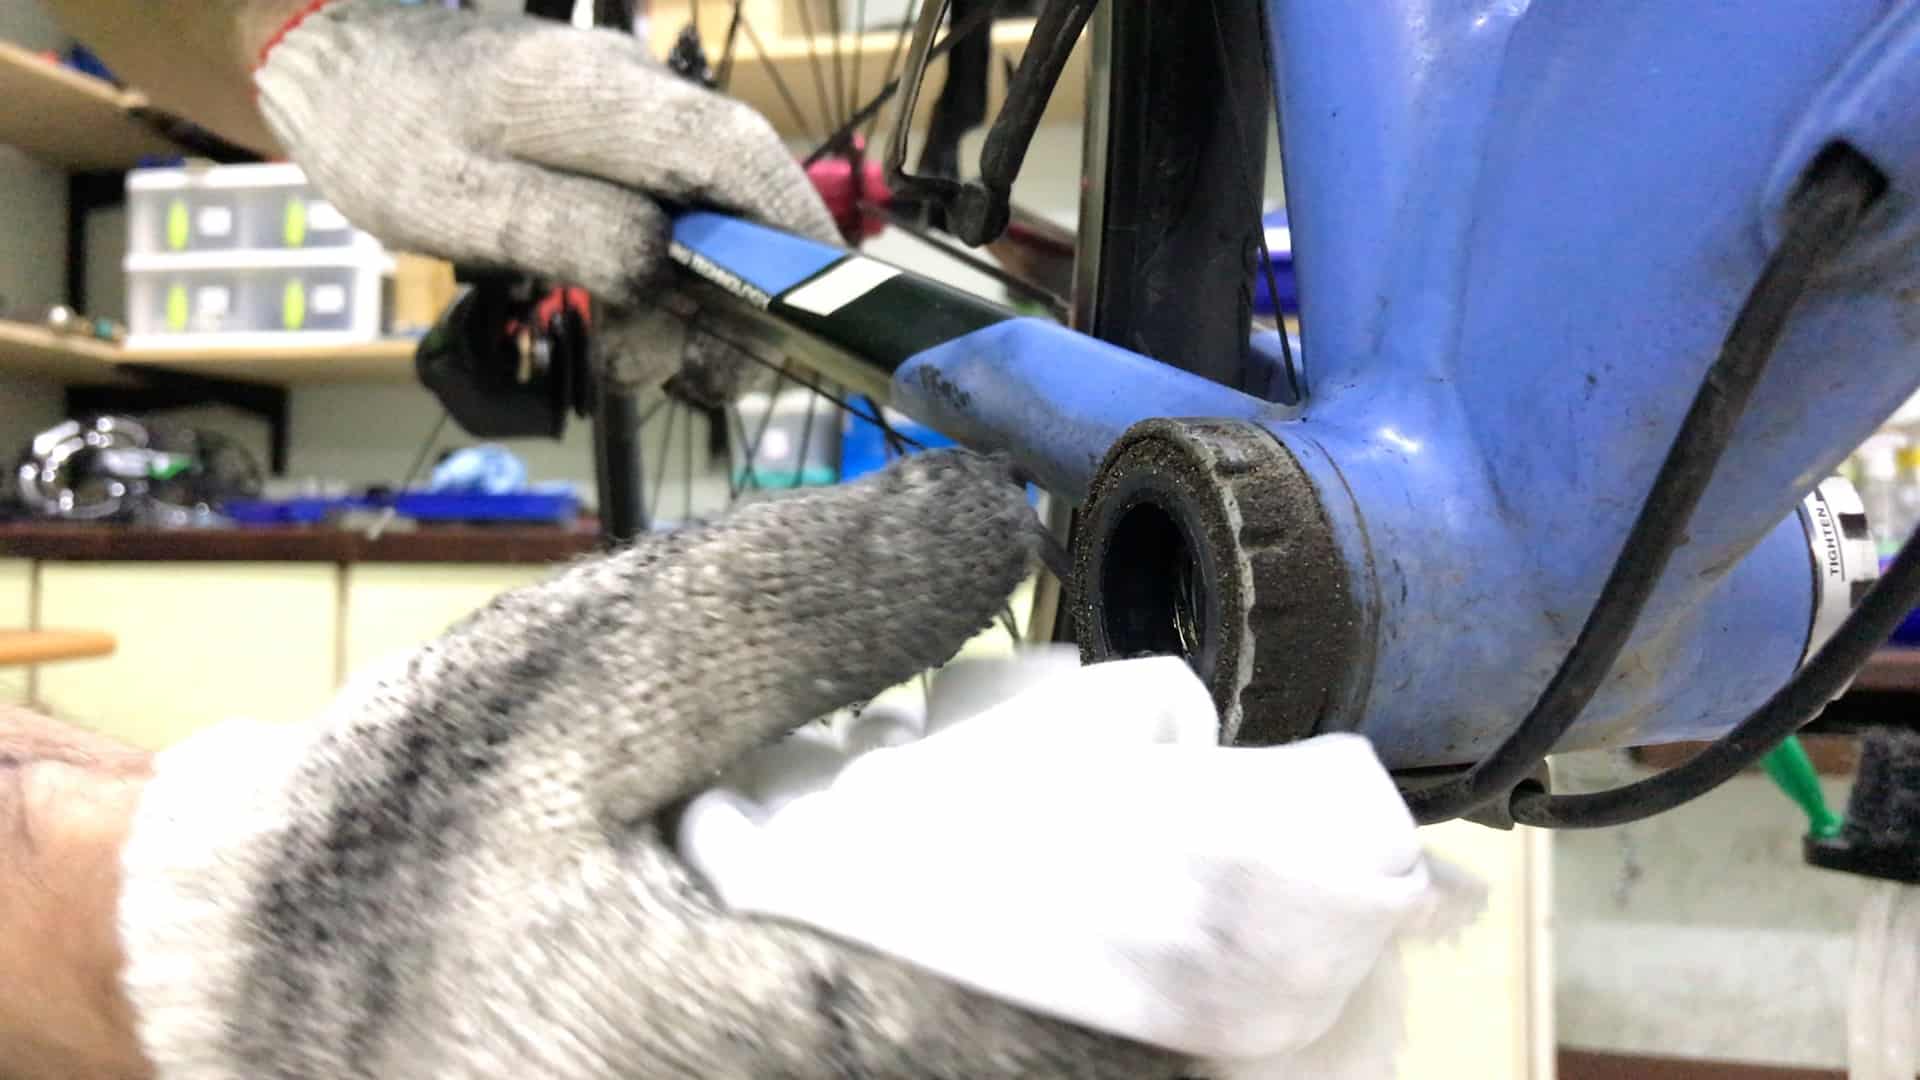
Clean the bottom bracket shell and threads. Use the clean rag to wipe away any dirt and grime from the bottom bracket. There are many different designs and tool options.
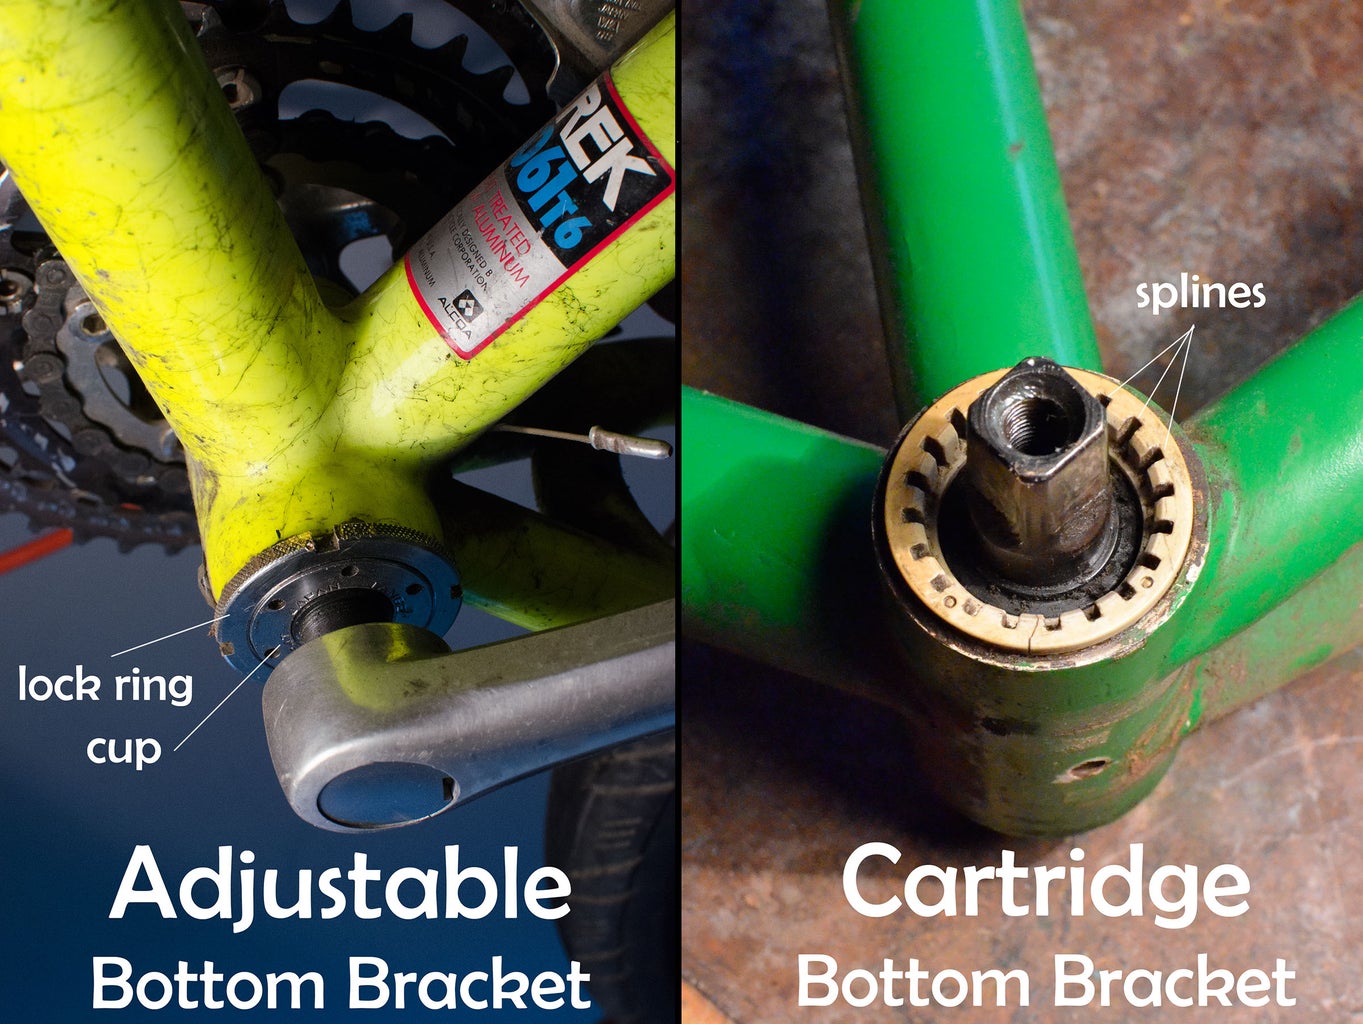
Unscrew the retaining ring or cups from the. Turn one tap until tap is recessed in bottom bracket shell. Jon shows you how to source the problem.
This will give you better access to clean the bottom bracket.2. Unscrew the non drive side retaining cap and place it somewhere safe. Probably once a year when i would tear the bike down, usually in the early spring or in anticipation of early.
This easily takes away all the. Cleaning bottom bracket after i ’ ve removed all the parts of the bottom bracket i put them in a small salad bowl and douse them in mineral spirits. In this episode, i try my best to show you how to remove, regrease & install a square tapered bottom bracket!
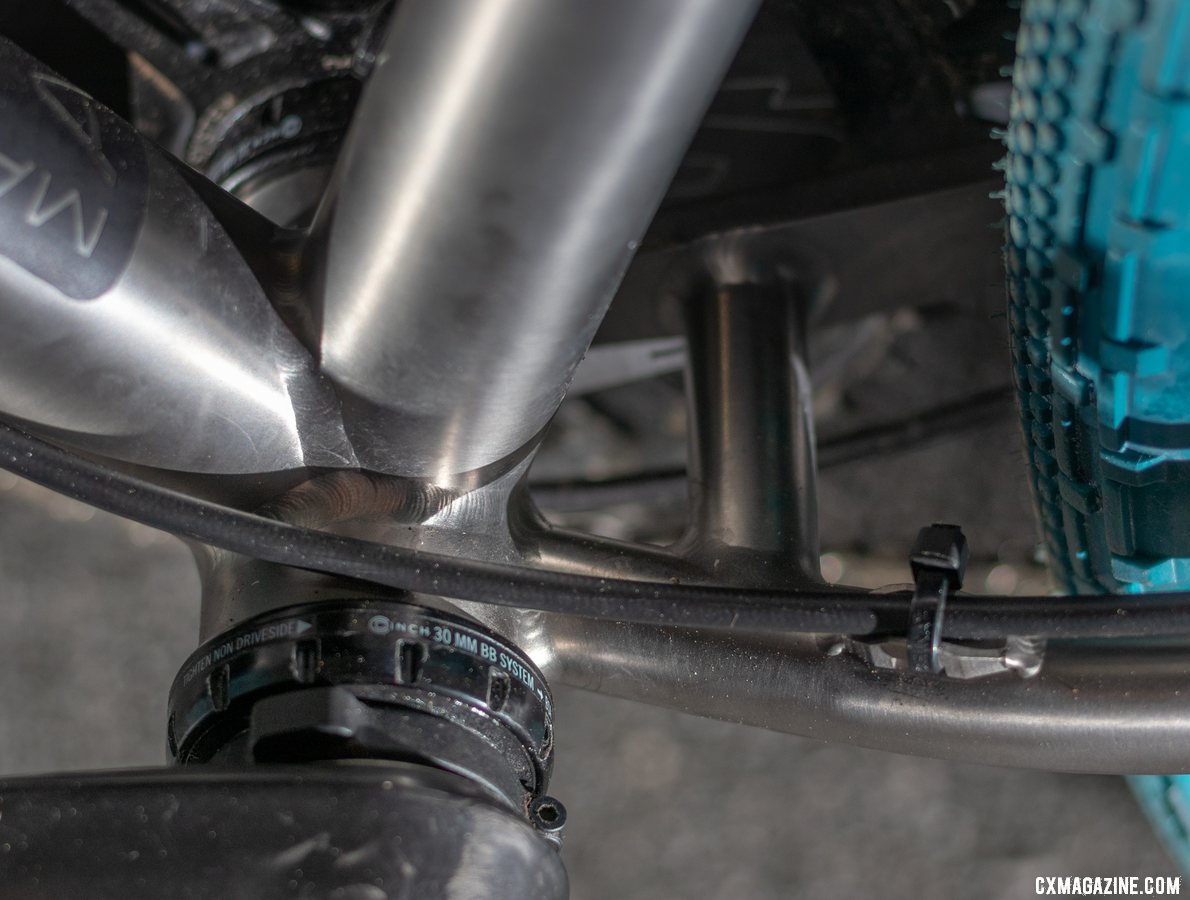
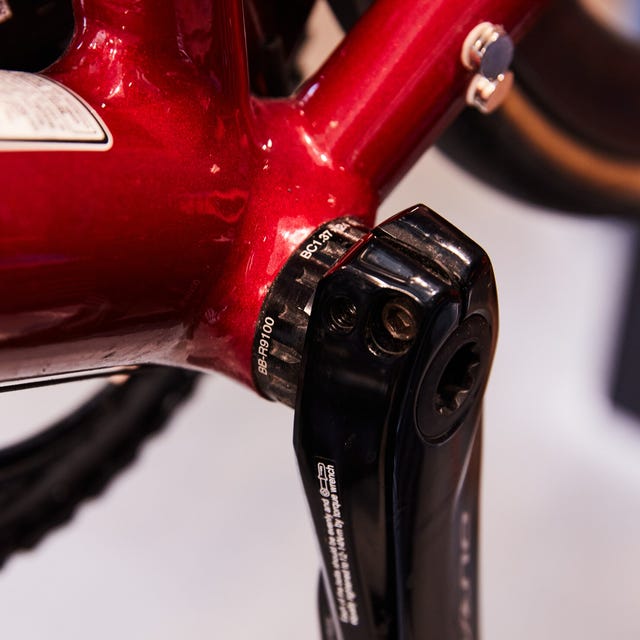
The dreaded creak or click! So now you’ve noticed play in your bottom bracket you need to get to it. Press fit bottom brackets are commonly found on modern mountain bikes, but if installed incorrectly can develop annoying creaks.
In general, all cartridge bearings with rubber seals can have the seals carefully removed, which is something of a skill in and of itself, be cleaned with solvent, rinse, blown dry with air, and re. Remove the crank arm with the help of a crank puller and adjustable wrench. Often riders will think their bottom bracket is at fault, but this isn't always the case.
Bottom Bracket Overhaul (bicycle Maintenance) : 15 Steps - Instructables
How To Overhaul A Bike Bottom Bracket - Remove/clean/install New Bearings Youtube

Cleaning Bottom Bracket Threads With Basic Tools - Youtube
How To Fix A Creaking Bottom Bracket | Repair
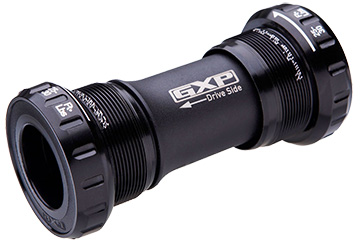
Sram Gxp Team Bottom Bracket - The Bicycle Chain & Clean Machine | North Carolina's Best Bike Shops
Square Taper Bottom Bracket Service - How To Overhaul/remove/clean/install Youtube

Bottom Bracket Overhaul (bicycle Maintenance) : 15 Steps - Instructables

How To Remove, Grease, And Install Bottom Brackets - Threaded Pres | Worldwide Cyclery

Bottom Bracket - Inspect, Clean And Lube Youtube

How To Overhaul An Old Style Bottom Bracket In 6 Easy Steps Anyone Can Do - Restoration.bike
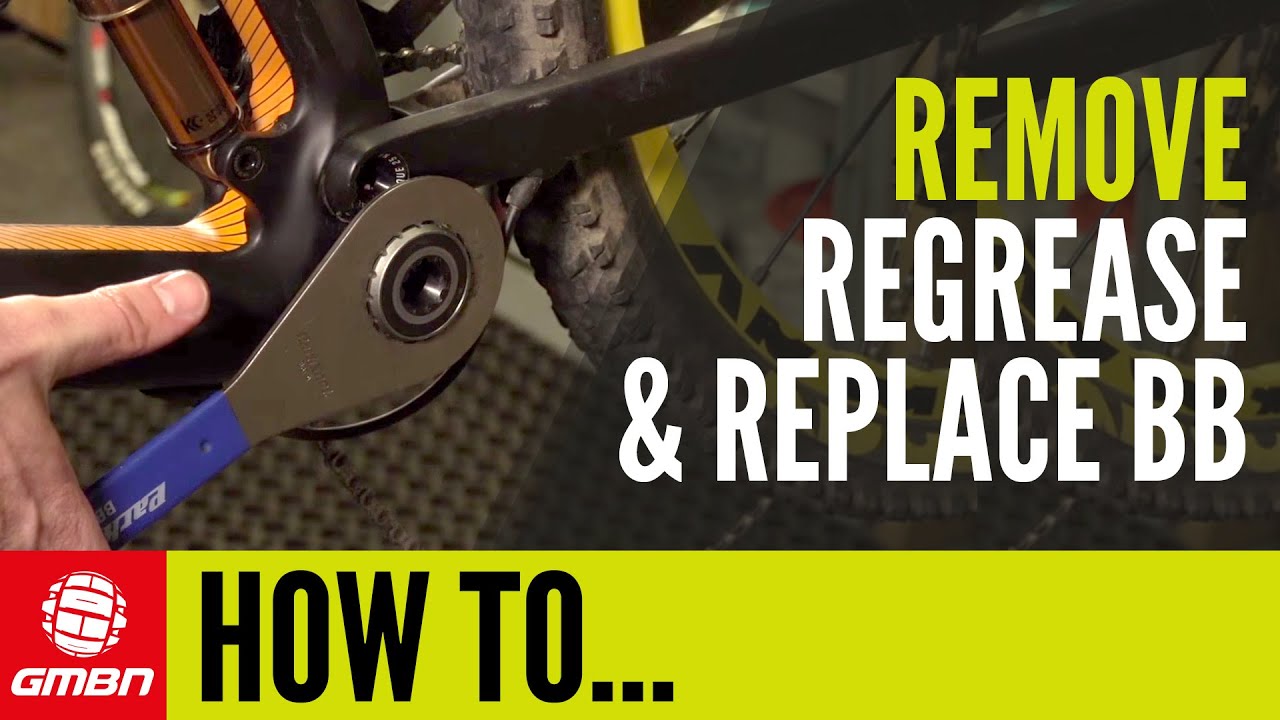
How To Remove, Regrease And Replace Your Bottom Bracket | Mountain Bike Mechanics - Youtube
Bottom Bracket Overhaul (bicycle Maintenance) : 15 Steps - Instructables

Bottom Bracket Maintenance - How To Remove, Install & Re-grease Your Bb (threaded Pressfit) Youtube